


A handful of tests can judge the integrity of a crimped connection. Crimp height tests measure the height of a crimped terminal and can reveal such things as under crimping, over crimping, wire misalignment and overall inconsistencies in the crimp process. Wire pull tests reveal many of the same things as crimp height testing and may also reveal improper wire gage selection or incompatibility of materials. Of course, a myriad of electrical tests can reveal signal and power integrity.
But if you really want to dig deep to see exactly what’s going on inside the crimp, a crimp cross section analysis, or micrograph, is probably the most comprehensive. It involves slicing the crimp area and analyzing the cross section with a microscope at various magnifications to see voids, count strands, check symmetry, and take several other measurements to determine the acceptability of a crimp.
Rob Boyd, Head of Product Development at Schleuniger, spoke about how the test has gained in popularity and how that has necessitated a streamlined process. Rob began by noting that micrograph systems have been around a long time. “Companies like SLE (now Komax) used to make large table sized products with multiple stations. The operator had to set the terminals in epoxy, then cut them and etch them with acid.”
These samples would then need to be polished with a fine grit sanding disc to smooth rough edges created during the cut. The laborious early process, he noted, was usually used to determine crimp validation parameters whenever a new terminal was designed. It would help manufacturers of new terminals establish the optimal crimp heights based on a given cross section. Manual plotting and measuring of the internal geometries were tedious and time consuming.
Rob discussed several drawbacks to the early tests. In addition to the tedious aspect of the epoxy encapsulation, the acid preparation had its perils. “It’s a hazardous solution that required special training. The operators had to wear PPE and work in a ventilated environment. Also, you had to move the sample away from the microscope because the fumes would etch the lens.” Another drawback, he noted, was that the acid continued to eat away at the material after the analysis. “So, if you had to go back, and re-check the sample at a later date, it would be further degraded.
It wasn’t until the test became more popular that manufacturers of the equipment got more aggressive towards simplifying the process. Rob indicated it was one auto manufacturer in particular that spearheaded the change. “VW really pushed the use of micrograph systems when they required manufacturers to take a microsection with every setup. Harness suppliers significantly increased the number of microsections per day and therefore needed faster systems. Where before they were doing it maybe once or twice, or even a few times per week, they were now doing it 20, 30 or 40 times a day.” Hence, he noted, most companies, including Schleuniger, now have smaller, less complicated systems that are much faster and minimize the need for acid etching.
Rob described the evolution in more detail. To begin with, gone are the arduous steps to encapsulate the sample in epoxy. Advances in sample cutting have eliminated the need for polishing. “The old systems used a simple fiberglass cutting disc like those you might find on a Dremel tool. Those don’t give a clean cut so polishing is required. The process is slow, and the cutting discs break easily,” he explained.
Rob noted that high-quality hard metal blades cut cleanly and, in most cases, negate the need for a polishing step. “For materials like aluminum, you might need a blade with bigger teeth that are spread out further. For harder materials, you would use a blade with smaller teeth that are closer together. The metal blades cost more but will last much longer and provide a much better result.”
Advances in pH balanced staining has also aided in taking harmful acid solutions out of the equation. “Staining with the new solutions is an electrolytic process. It’s pretty fast and easy for most applications. Most of the solutions have a pH value of seven, which is the same as water so it’s much safer for the operator. These solutions provide a good contrast between the conductor and terminal for viewing.” He added it’s also possible to stain the sample while under the microscope without etching the lens.
Another benefit of the electrolytic solutions is that they do not degrade the sample over time. “You can pull a sample out after it’s been around for a week or so and it’s still going to look the same and give you basically the same picture,” he said. This is particularly helpful should you be required to go back and pull samples from past set ups.
Rob noted that in some cases, like with steel or aluminum you might need a solution that is slightly more acidic to get a clear picture, but that these are still less harmful than the old acid etching formulas.
Software advances have also streamlined the process. “With the old systems you had to trace the outline of the crimp. You also had to trace the inside and do all the plotting measurements manually. Now we have software that can automatically capture the outside and inside dimensions and do all the measurements within seconds,” he described. Considering the number of measurements and wire/terminal combinations, Rob reiterated the entire process should be fast and simple.
Not all situations require the same level of detail and Rob insists that users should be able to select what gets measured in the measurement workflow. He also mentioned that there are rare instances where measurements need to be applied manually, especially in instances where the terminal and the conductors have a very similar hue. He added a good lighting source can help mitigate this effect.
One important feature Rob stressed as paramount in selecting a system is zoom stepping for the lens. “As you zoom in or out for smaller or larger terminals, it’s very important that your lens system has a calibration setting for each zoom step. Other systems have adjustable zoom, but with our system, you feel a little detent in each zoom step. This makes the measurements repeatable. It’s very easy to be a little off if you don’t have that.”
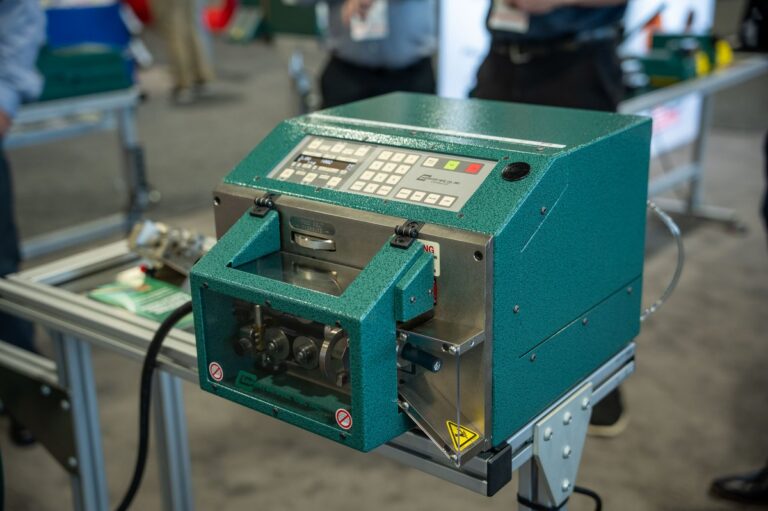
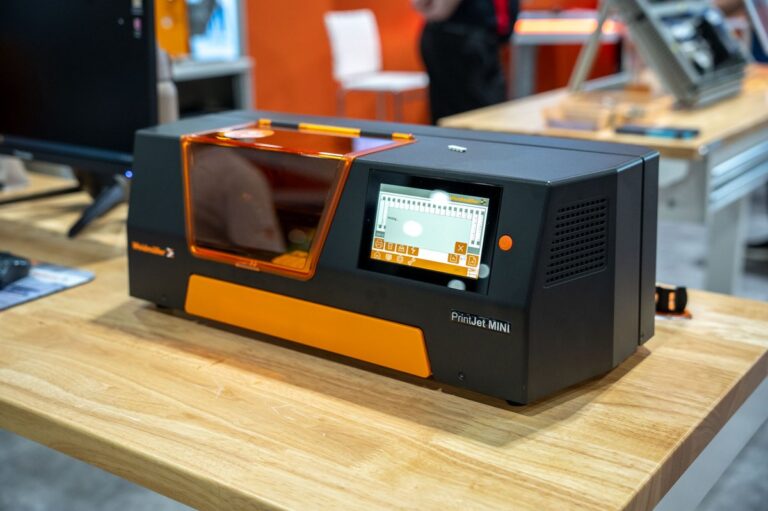
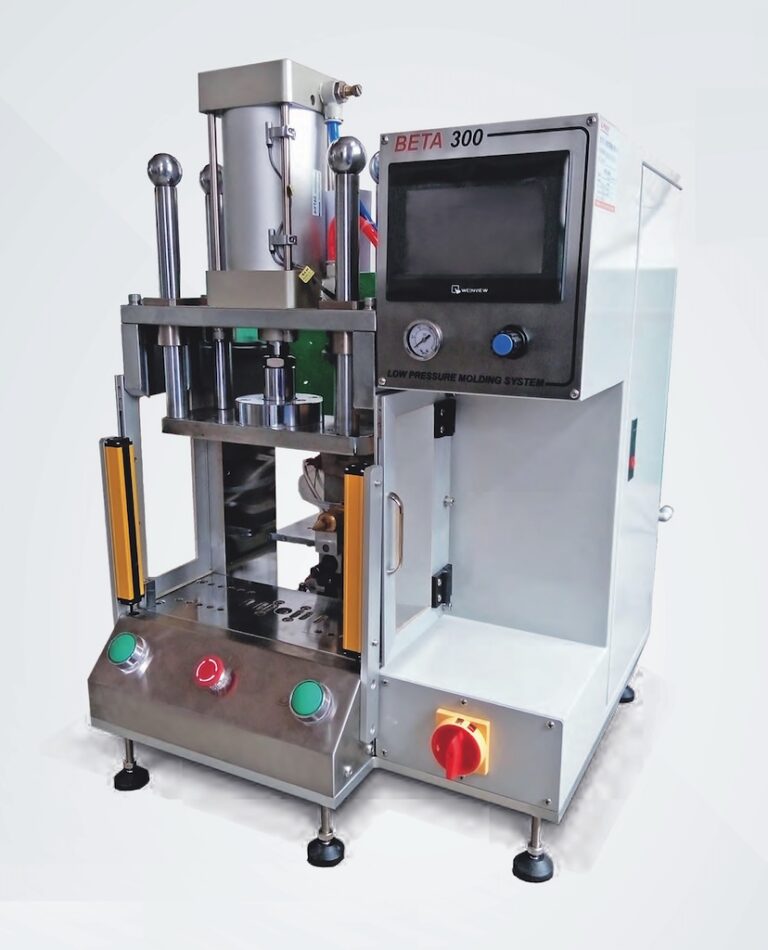
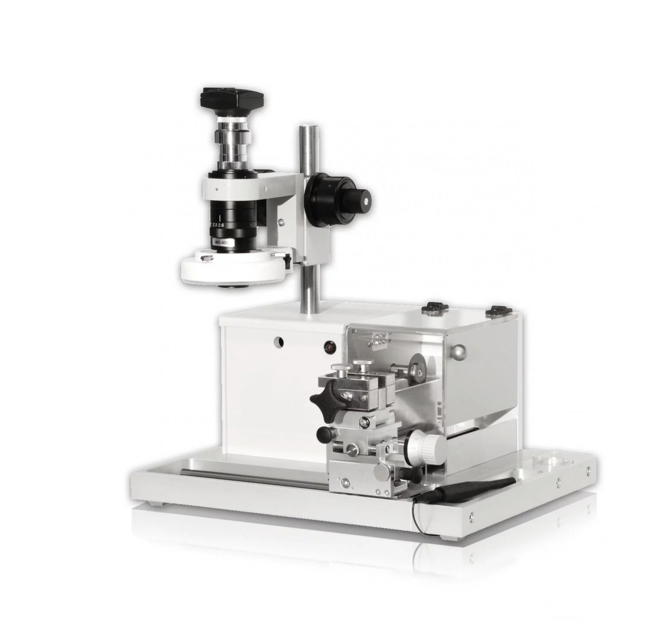
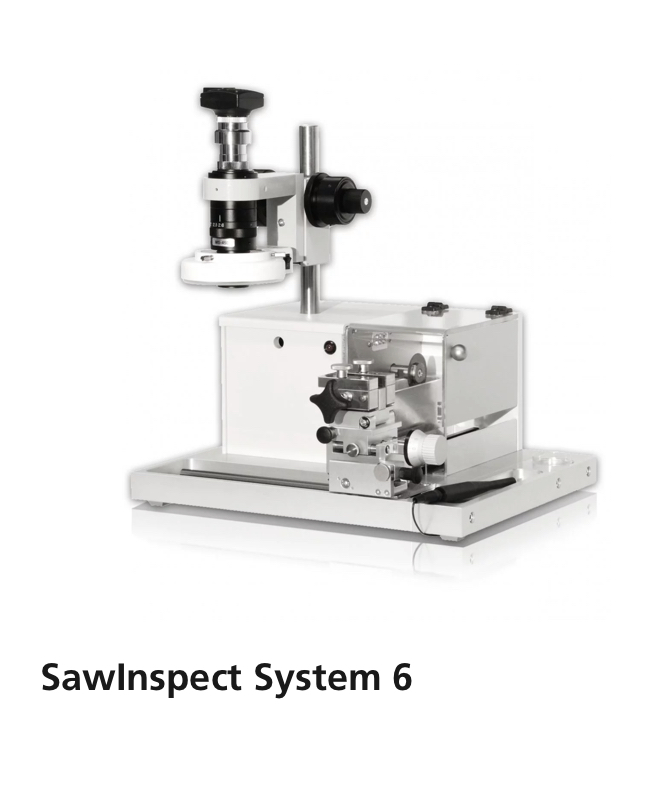
Rob further detailed that in 97% of the cases the polishing step can be eliminated and can be handled with compact integrated equipment similar to their SawInspect System 6 (below). With the SIS 6, the sample is loaded in the holder in line with the saw blade. After cutting, you are able to move the sample on slide rails from the blade to the microscope, rotating it 90° to allow for a perfect view of the cross-section. After a light application of the electrolytic stain and a few short steps from the operator, the software measures and analyzes the sample.
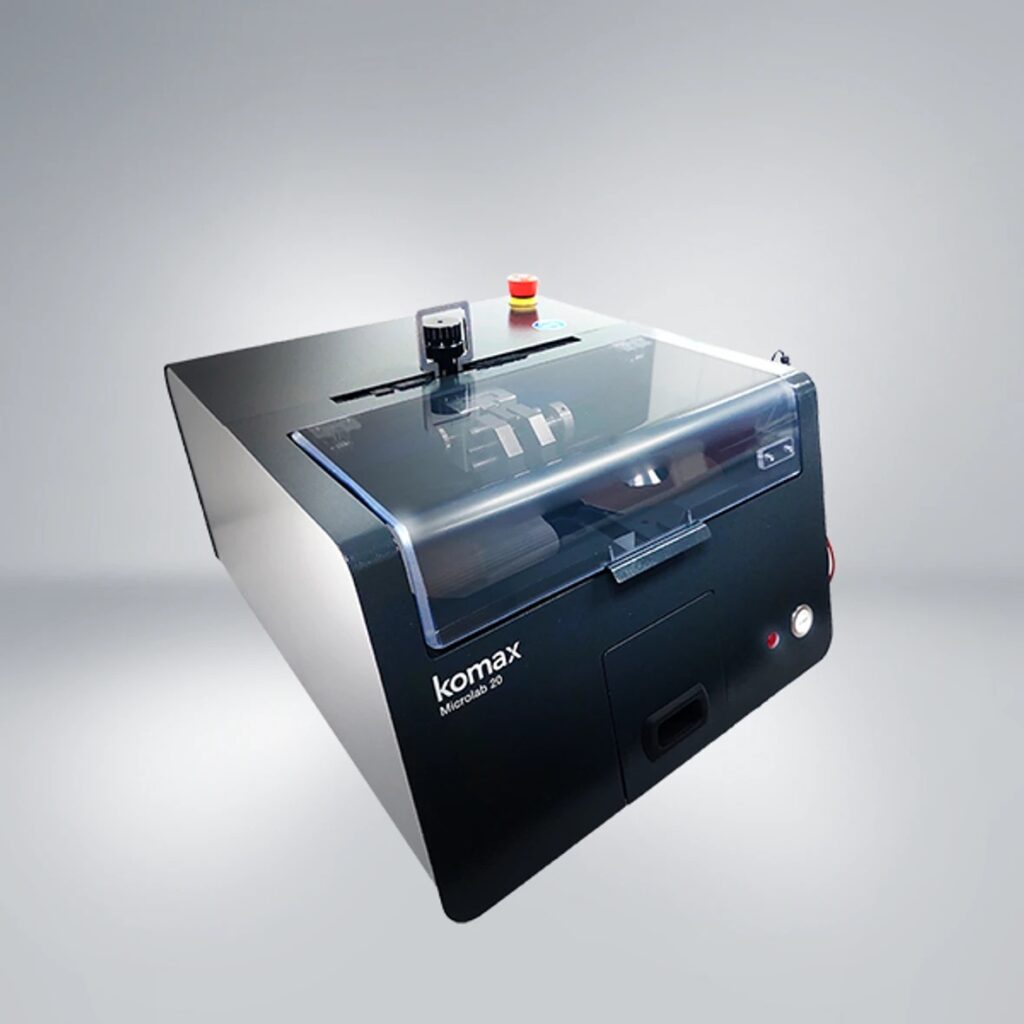
For customers needing to do large quantities of materials that require polishing, Rob noted those systems are also available by Schleuniger and others. “Komax has the MICROLAB line of automated equipment where you load the sample in and it automatically brings it through the saw, the polishing system, the sanding process, and then over to the microscope for analysis (below). So, the whole process is more or less automated.”
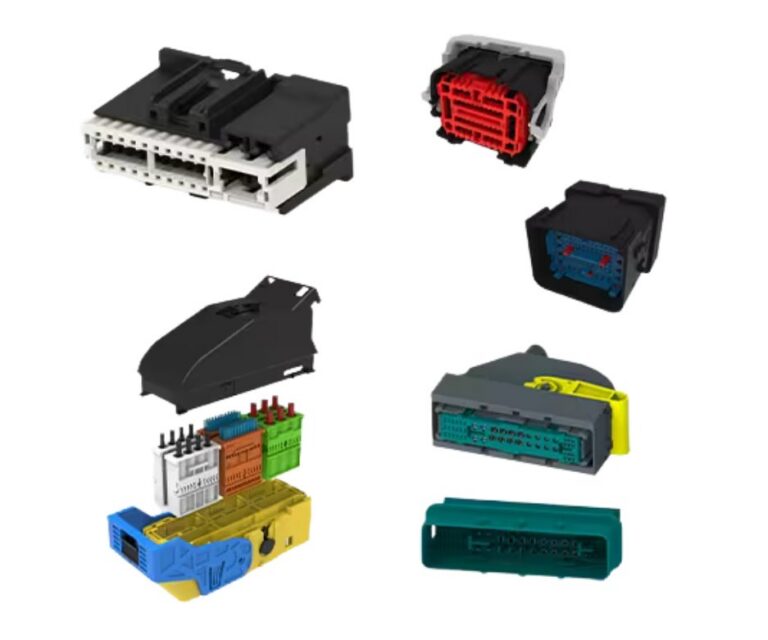
The ability to look inside the crimp is very enlightening and Rob mentioned it reveals some interesting things about manufacturer’s specifications. “Terminal manufacturers are trying to use the same stamped body and die shape for as many terminals and wires as they can. For instance, a Mate-N-Lok (TE) terminal will accommodate a wire range from 20 to 14 gauge. However, if you look at the 20 gauge under the micrograph, there’s some extra space in there and it’s really crammed at the bottom. The 18 and 16 gauge look great but the 14 is just barely holding the crimp wings together. It doesn’t mean that you shouldn’t put them together, but it’s helpful to know exactly what is going on there.” He noted that automotive standards are much tighter and are really looking for a nice “B” shape symmetry in the crimp.
Rob stressed that although the micrograph analysis takes you inside the crimp to judge its integrity, it should be used in conjunction with other tests in a total quality assessment. “The crimp height tells you if you’re crimping to manufacturer’s specifications. The pull test tells you things like proper wire selection, but each test will tell you a different thing.” With increased pressures on quality and traceability, total quality assessment is definitely part of the manufacturing landscape.
Many thanks to Rob Boyd for helping us compile this report. If you’d like more information on the specific systems from Schleuniger or Komax, look under Quality Assurance, or Quality Tools on their respective websites.